Instructions
Getting Started
There is a learning curve, and orientation matters. Use these steps to launch and fish confidently with MiBuoy.
Rig Your Line
Thread your line through MiBuoy according to the setup diagram, then attach your bait or lure to a trailing leader (typically around 3m).
Check Orientation
Set MiBuoy right-way-up and facing the intended direction. Left side facing you tracks left, right side facing you tracks right.
Launch
Place MiBuoy gently in the water and feed line out steadily to your target distance.
Walk and Hold
Engage your bail arm. MiBuoy can hold in current, or you can walk slowly in still water to maintain position.
Strike
On the take, the trigger releases quickly. Give the fish a moment, then set the hook.
Retrieve
Retrieve faster to plane it to the surface, and if the triggers have not been engaged, you can simply let your line go slack for a few seconds, and MiBuoy should disengage.
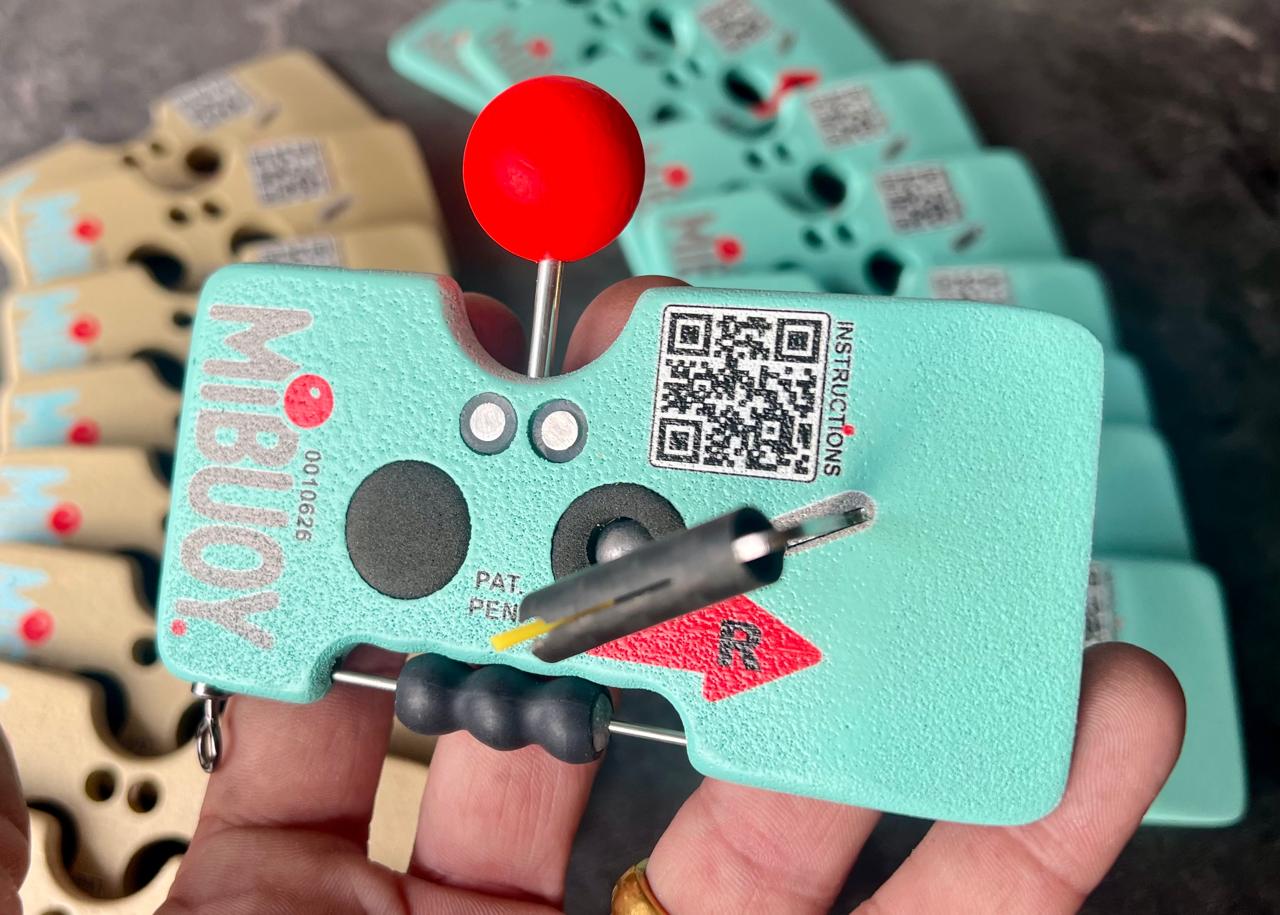
MiBuoy Setup & Instructions
Built for the way you actually fish
Use these practical tips to get more control and better outcomes from every MiBuoy session.
Fishing the Surface
Keep the standard buoyancy setup. Great for species feeding higher in the water column.
Fishing the Bottom
Reduce buoyancy and use a weighted rig to tow bait along lower structure and channels.
Live Bait
No casting impact helps keep live bait healthier and active for longer sessions.
Stalking Fish
Launch downcurrent and bring bait through active areas naturally and quietly.
Night Fishing
Use the light-stick port for visibility and tracking in low-light conditions.
*Breaking Waves
MiBuoy is not designed or recommended to be used in breaking waves.
Recommended Line and Rod
Small
Line: 10lb braid or fluorocarbon
Rod: Ultralight to light
Medium
Line: Up to 20lb
Rod: Light to medium-heavy
Large
Line: Up to 30lb
Rod: 1oz+ recommended